Understanding Cinematic Effects
Cinematic effects transform ordinary footage into something extraordinary, capturing the essence of high-budget films, and making your videos visually compelling. These effects can enhance storytelling, improve mood, and keep viewers engaged. With the rise of smartphone technology, editing apps now provide tools for creating stunning cinematic effects right from your pocket.
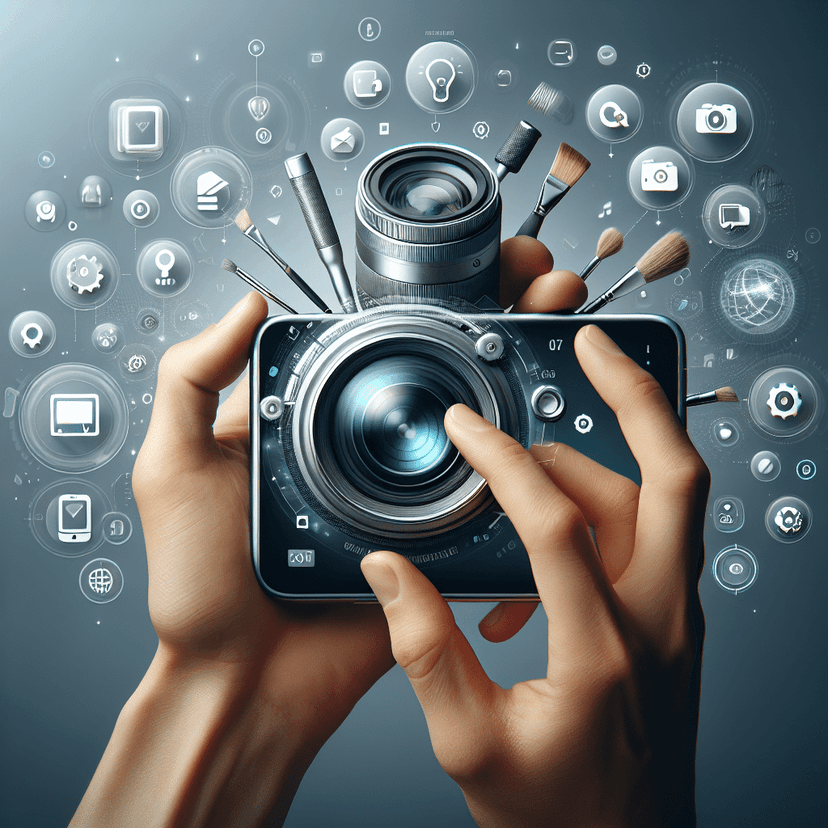
Selecting the Right Editing App
Before you delve into specific effects, choosing an app that suits your needs is crucial. Consider apps like KineMaster, InShot, LumaFusion, and Adobe Premiere Rush. Each has unique features that cater to different editing styles, but they all offer the essential tools for cinematic effects.
- KineMaster: Great for multi-layer video editing, providing advanced tools and functionalities.
- InShot: User-friendly for beginners with a focus on social media formats.
- LumaFusion: A professional-grade app available for iOS, perfect for advanced editing.
- Adobe Premiere Rush: Offers cross-platform editing with a simple interface.
Key Effects to Include
-
Slow Motion and Speed Ramping
- How to Implement: Most editing apps allow you to adjust playback speed, often with options for slow-motion or speed ramping.
- Tip: Capture high frame rate footage (like 60fps or 120fps) to ensure high-quality slow-motion results.
-
Cinematic Color Grading
- Purpose: Enhances the mood and atmosphere of your video.
- How to Do It: Use presets or manually adjust the color wheel to fine-tune shadows, midtones, and highlights. Apps like KineMaster and LumaFusion offer advanced color grading tools.
- Considerations: Match color tones to your video’s theme (e.g., warm colors for a positive vibe; cool colors for a somber mood).
-
Letterboxing
- What It Is: This effect adds black bars on the top and bottom of your video, mimicking the aspect ratio commonly seen in films (like 2.35:1).
- How to Add: Look for cropping tools in your app or use overlays that simulate the black bars.
-
Transitions
- Importance: Smooth transitions enhance storytelling and professionalism.
- Types: Try fade, dissolve, and whip pan transitions. Avoid overusing creative transitions; subtlety is key for a cinematic look.
- How to Use: Place transitions between clips in the timeline, adjusting their duration to create seamless flow.
-
Depth of Field
- Effect: Creates a focused subject against a blurred background.
- How to Achieve: Use apps that support manual focus or emulate this effect by blurring the background post-production.
- Tip: Experiment with different aperture settings during shooting to achieve natural depth of field in your footage.
-
Film Grain and Noise
- Purpose: Adds an organic feel to your digital footage, emulating film stock.
- Execution: Many apps feature filters or overlays that can introduce grain. Use sparingly; too much can detract from quality.
- Balance: Combine with a slight color grade for a cohesive vintage look.
Advanced Techniques
-
Motion Graphics and Overlays
- Incorporation: Enhance visuals by adding static or animated graphics.
- Tools: Many apps, like InShot and KineMaster, provide templates for adding graphics easily. Custom animations can add power to your visuals.
- Usage: Consider using lower-thirds for names, subtitles, or animated logos to elevate production quality.
-
Sound Design
- Impact: Sound plays a crucial role in cinematic effects. Rich, layered audio creates an immersive experience.
- How to Select: Use background music, voiceovers, and sound effects. Apps like InShot allow audio layering where you can create a balanced soundscape.
- Volume Control: Manage audio levels to maintain clarity and prevent overpowering the video dialogue.
-
Speed Up and Time-lapse
- Effect: These effects create dramatic visuals by condensing time, often used in nature scenes or events.
- Implementation: Select the section of the video to speed up, often found in the editing tools.
- Caution: Ensure the quick pace matches the video’s narrative for maximum impact.
Fine-Tuning Your Edit
-
Cutting and Trimming
- Importance: Effective editing is about brevity. Ensure every second of video counts.
- Technique: Use precise cut tools to eliminate gaps and unnecessary footage. Arrange clips to maintain a narrative flow.
-
Aspect Ratio Matching
- Adaptation: Ensure that the aspect ratio of your video suits the platform where it will be shared (e.g., 16:9 for YouTube, 1:1 for Instagram).
- Execution: Most apps allow easy adjustments in the project settings.
-
Final Review and Export
- Checklist: Watch your video multiple times, checking for flow, audio synchronization, and overall visual appeal.
- Export Settings: Choose an appropriate resolution and frame rate for the platform, balancing quality and file size.
Tips for Success
- Plan Your Shots: Consider the composition and framing before shooting the video. Use the rule of thirds to create visually interesting shots.
- Natural Lighting: Use good lighting to enhance video quality. Shoot during golden hours for softer, more cinematic light.
- Use Stabilization: Shake-free footage is essential for a polished look. Utilize smartphones’ stabilization features or editing app stabilization tools.
Experimentation and Creativity
Don’t be afraid to experiment with different effects and combinations. Each video project is an opportunity to express your creativity and fine-tune your skills. As you become more experienced, you will develop your unique editing style. Watch tutorials, study successful creators, and apply new techniques to enhance your cinematic effect toolkit.
Engaging with the editing community is also beneficial; forums and groups can offer insights and inspiration. Above all, practice consistently. The more you create, the more refined your editing skills will become.
Final Words on Cinematic Phone Editing
Creating cinematic effects with phone editing apps involves a mix of technical skills and artistic vision. By mastering these techniques, anyone can elevate their smartphone footage to the realm of professional filmmakers. As technology continues to evolve, the potential for creating stunning videos right from your smartphone will only expand, providing endless opportunities for creativity and storytelling.